
Easy to make, and with a naive charm, these winsome miniature wooden houses create an enchanting Christmas scene when displayed together. Interspersed by frosted, tree-like pine cones and illuminated in a warm light, they bring delightful cheer and festivity into the home.
Wood offcuts and unwanted scraps from an old trellis or garden fence are cut to size and lightly painted. Small windows are printed on the surface using a rubber stamp, and rusty nails and old washers, reminiscent of chimneys and festive wreaths, add the final touches.
A cluster of houses can be made to build up the scene, and a selection of sizes will add interest. The result is a charming display, conveying a warm welcome to guests during the festive season.
Materials
• Saw
• Hammer
• Drill
• Scalpel
• Wood glue
• Pencil rubber
• Selection of old nails
• Selection of old washers
• White emulsion
• Black paint
• Salt
• Small tacks
• Offcuts of wood (the ones shown are a width and depth of 2in by 1½in (6 x 4cm) and 3in by 2in (7.5 x 5cm)
• Small scraps of wood for doors
• ¾in by 1½in (2 x 4cm) tall pine cones
How to make the houses
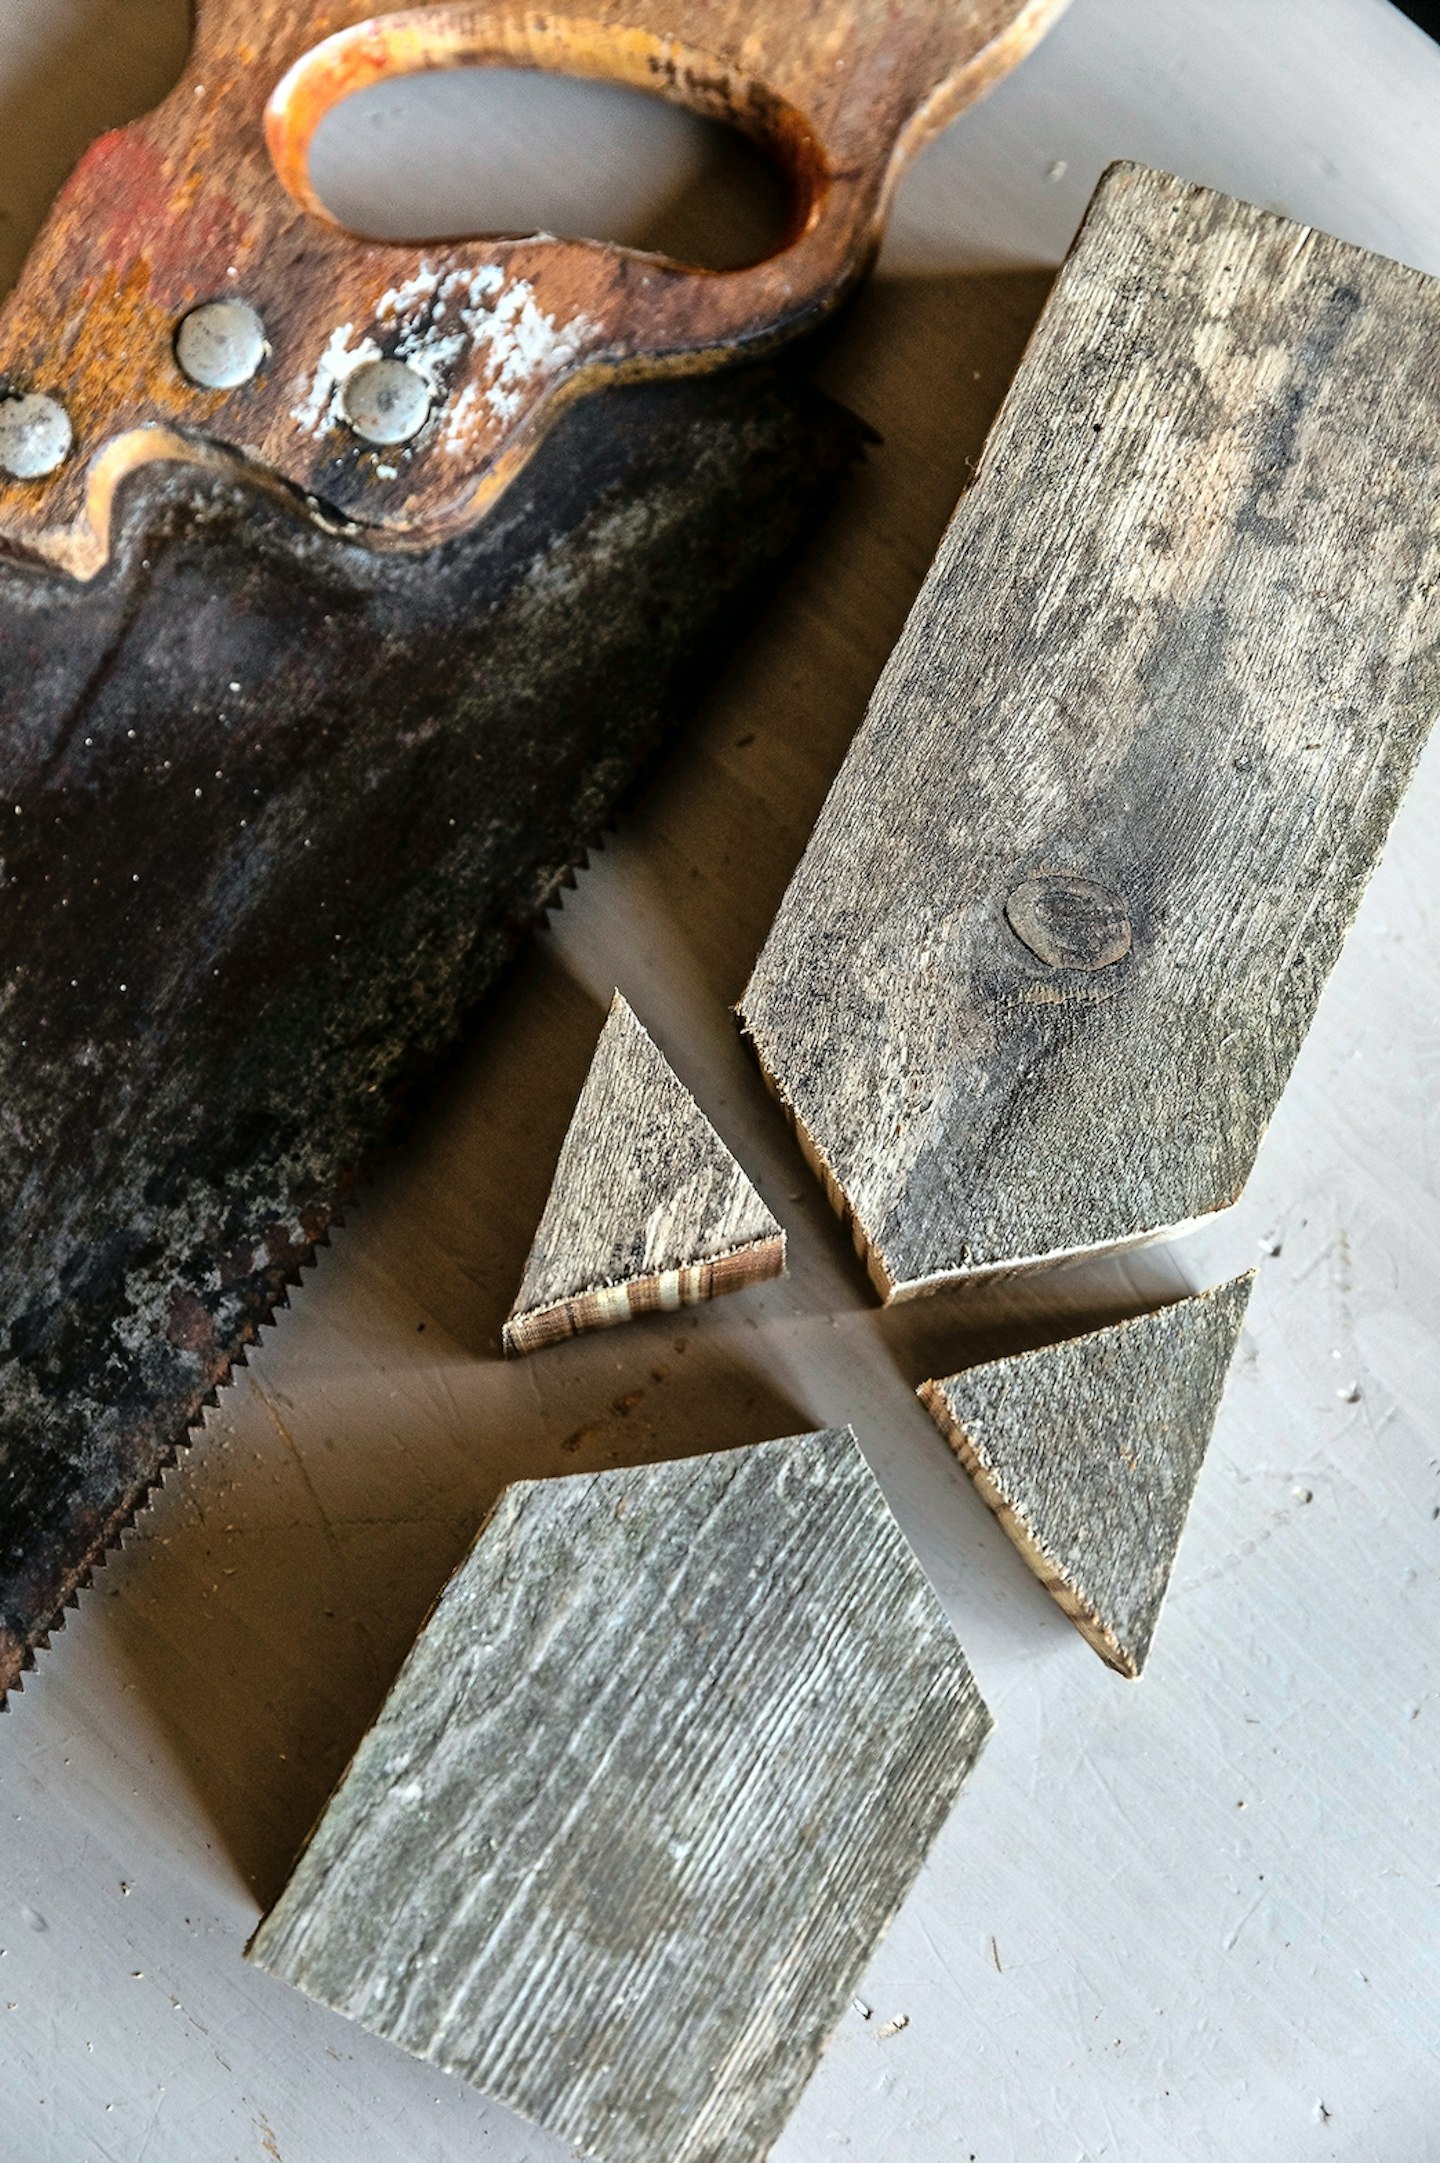
Step 1: The offcuts are marked as shown and carefully sawn along the lines. Tall houses are approximately 4in (11cm) to the eaves, while smaller ones are 2¾in (7cm), with a 1in (2.5cm) rise to the apex. Each house is then sanded to the desired finish. Remnants of ageing paint can be left to add character.
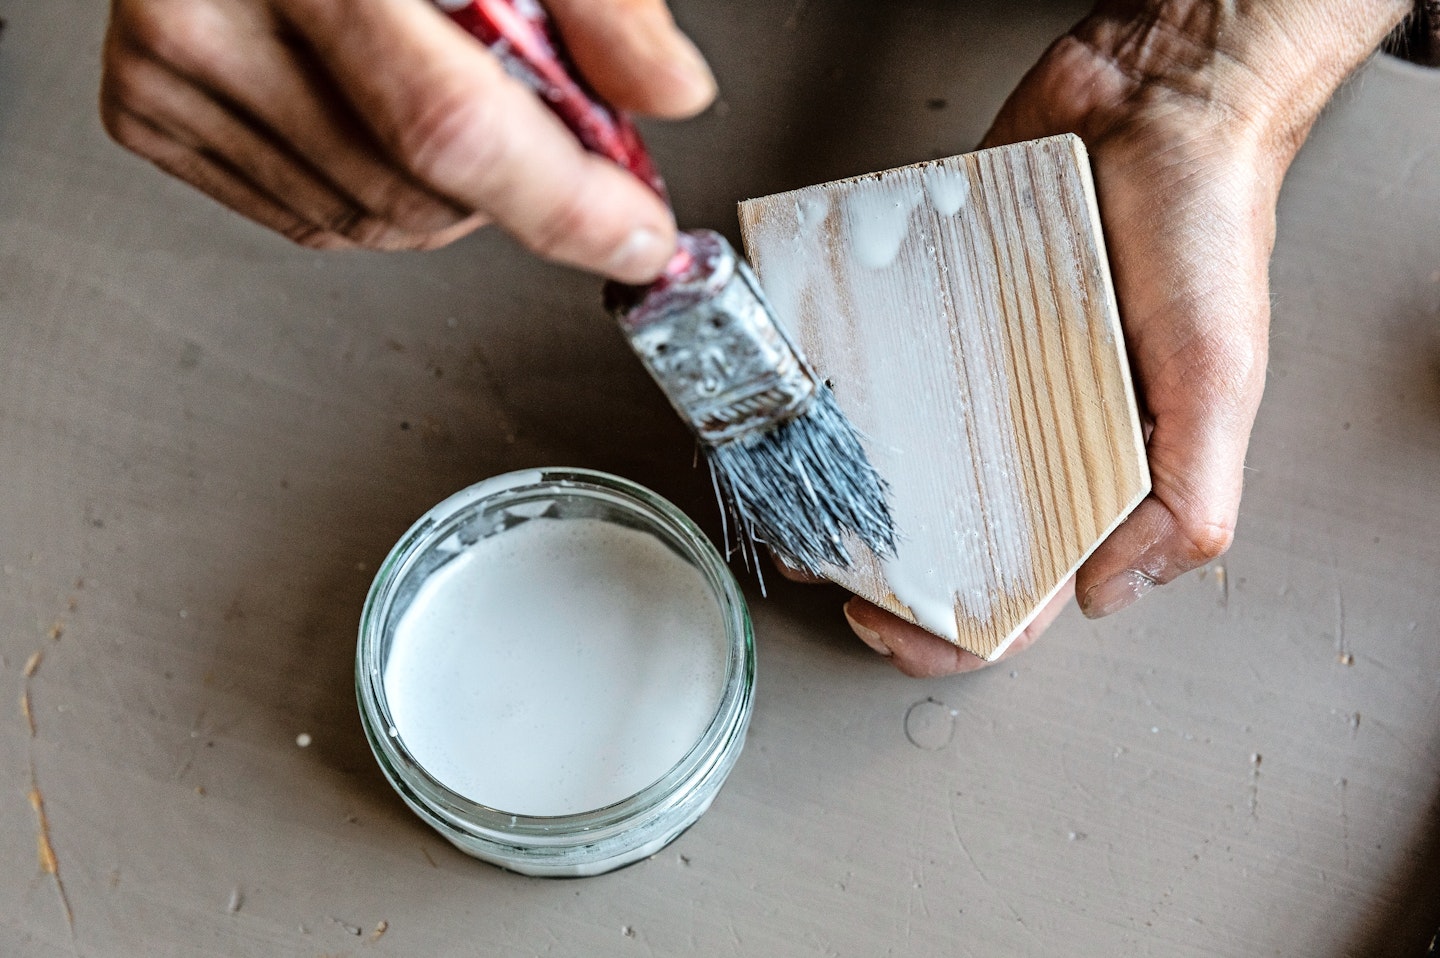
Step 2: A mixture, approximately half emulsion and half water, is made and applied as a light wash. The houses are then left to dry naturally.
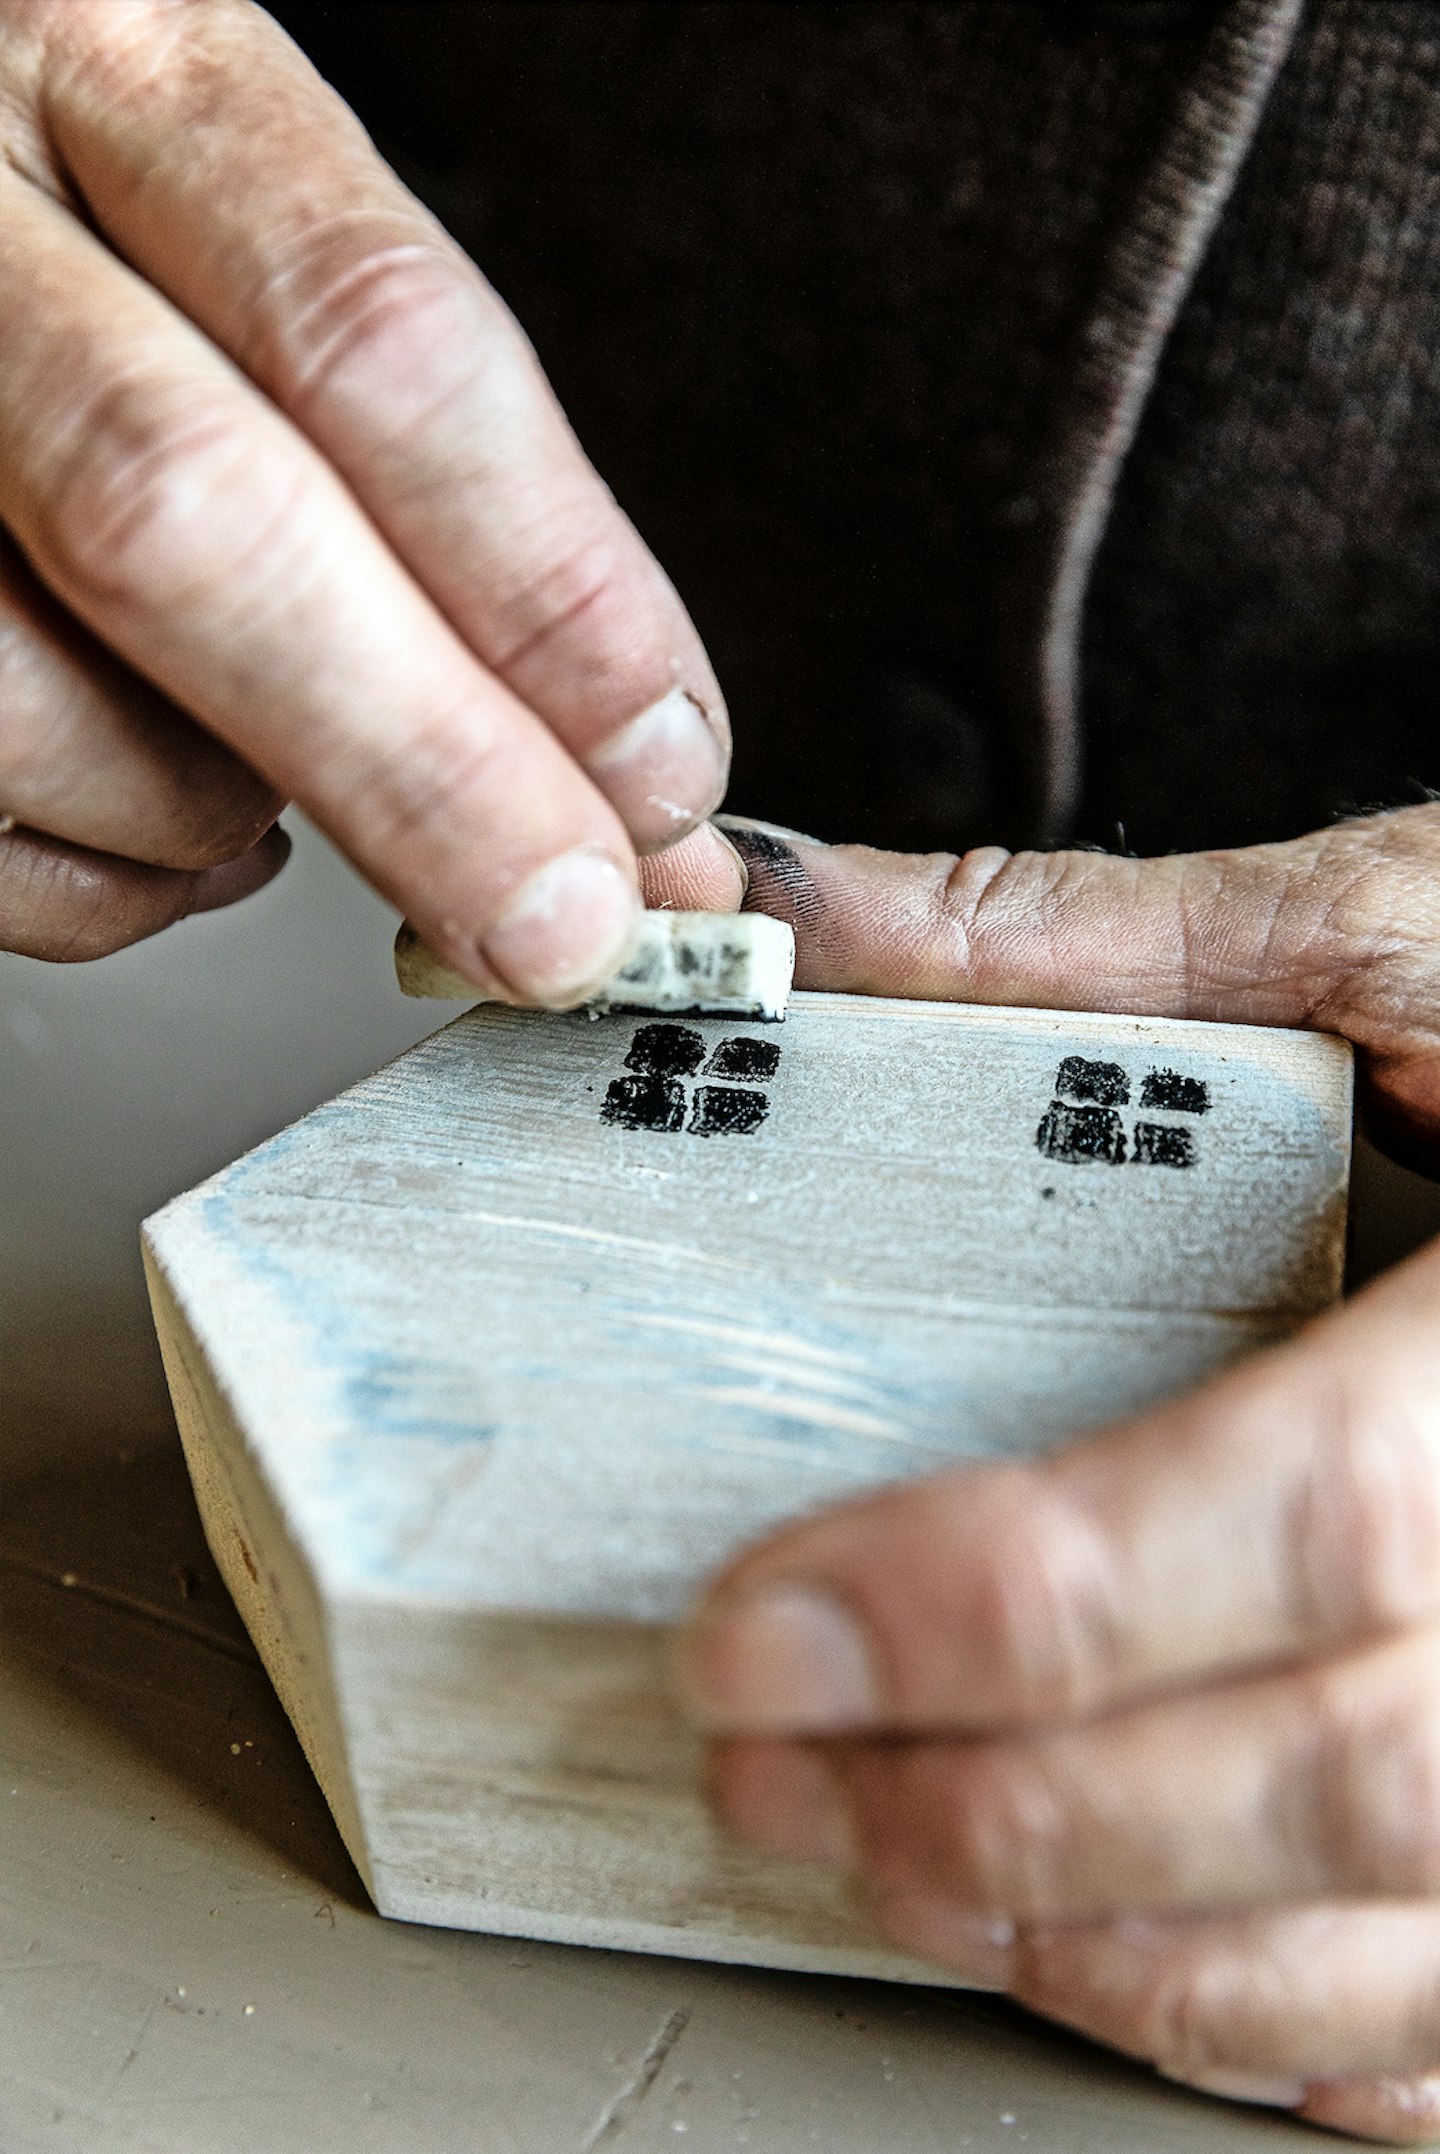
Step 3: Four 5mm squares are carved onto a pencil eraser to create a window shape. The squares are then lightly coated with black paint. While wet, the rubber is used to print the shape onto the wood, ensuring there is space for the door.
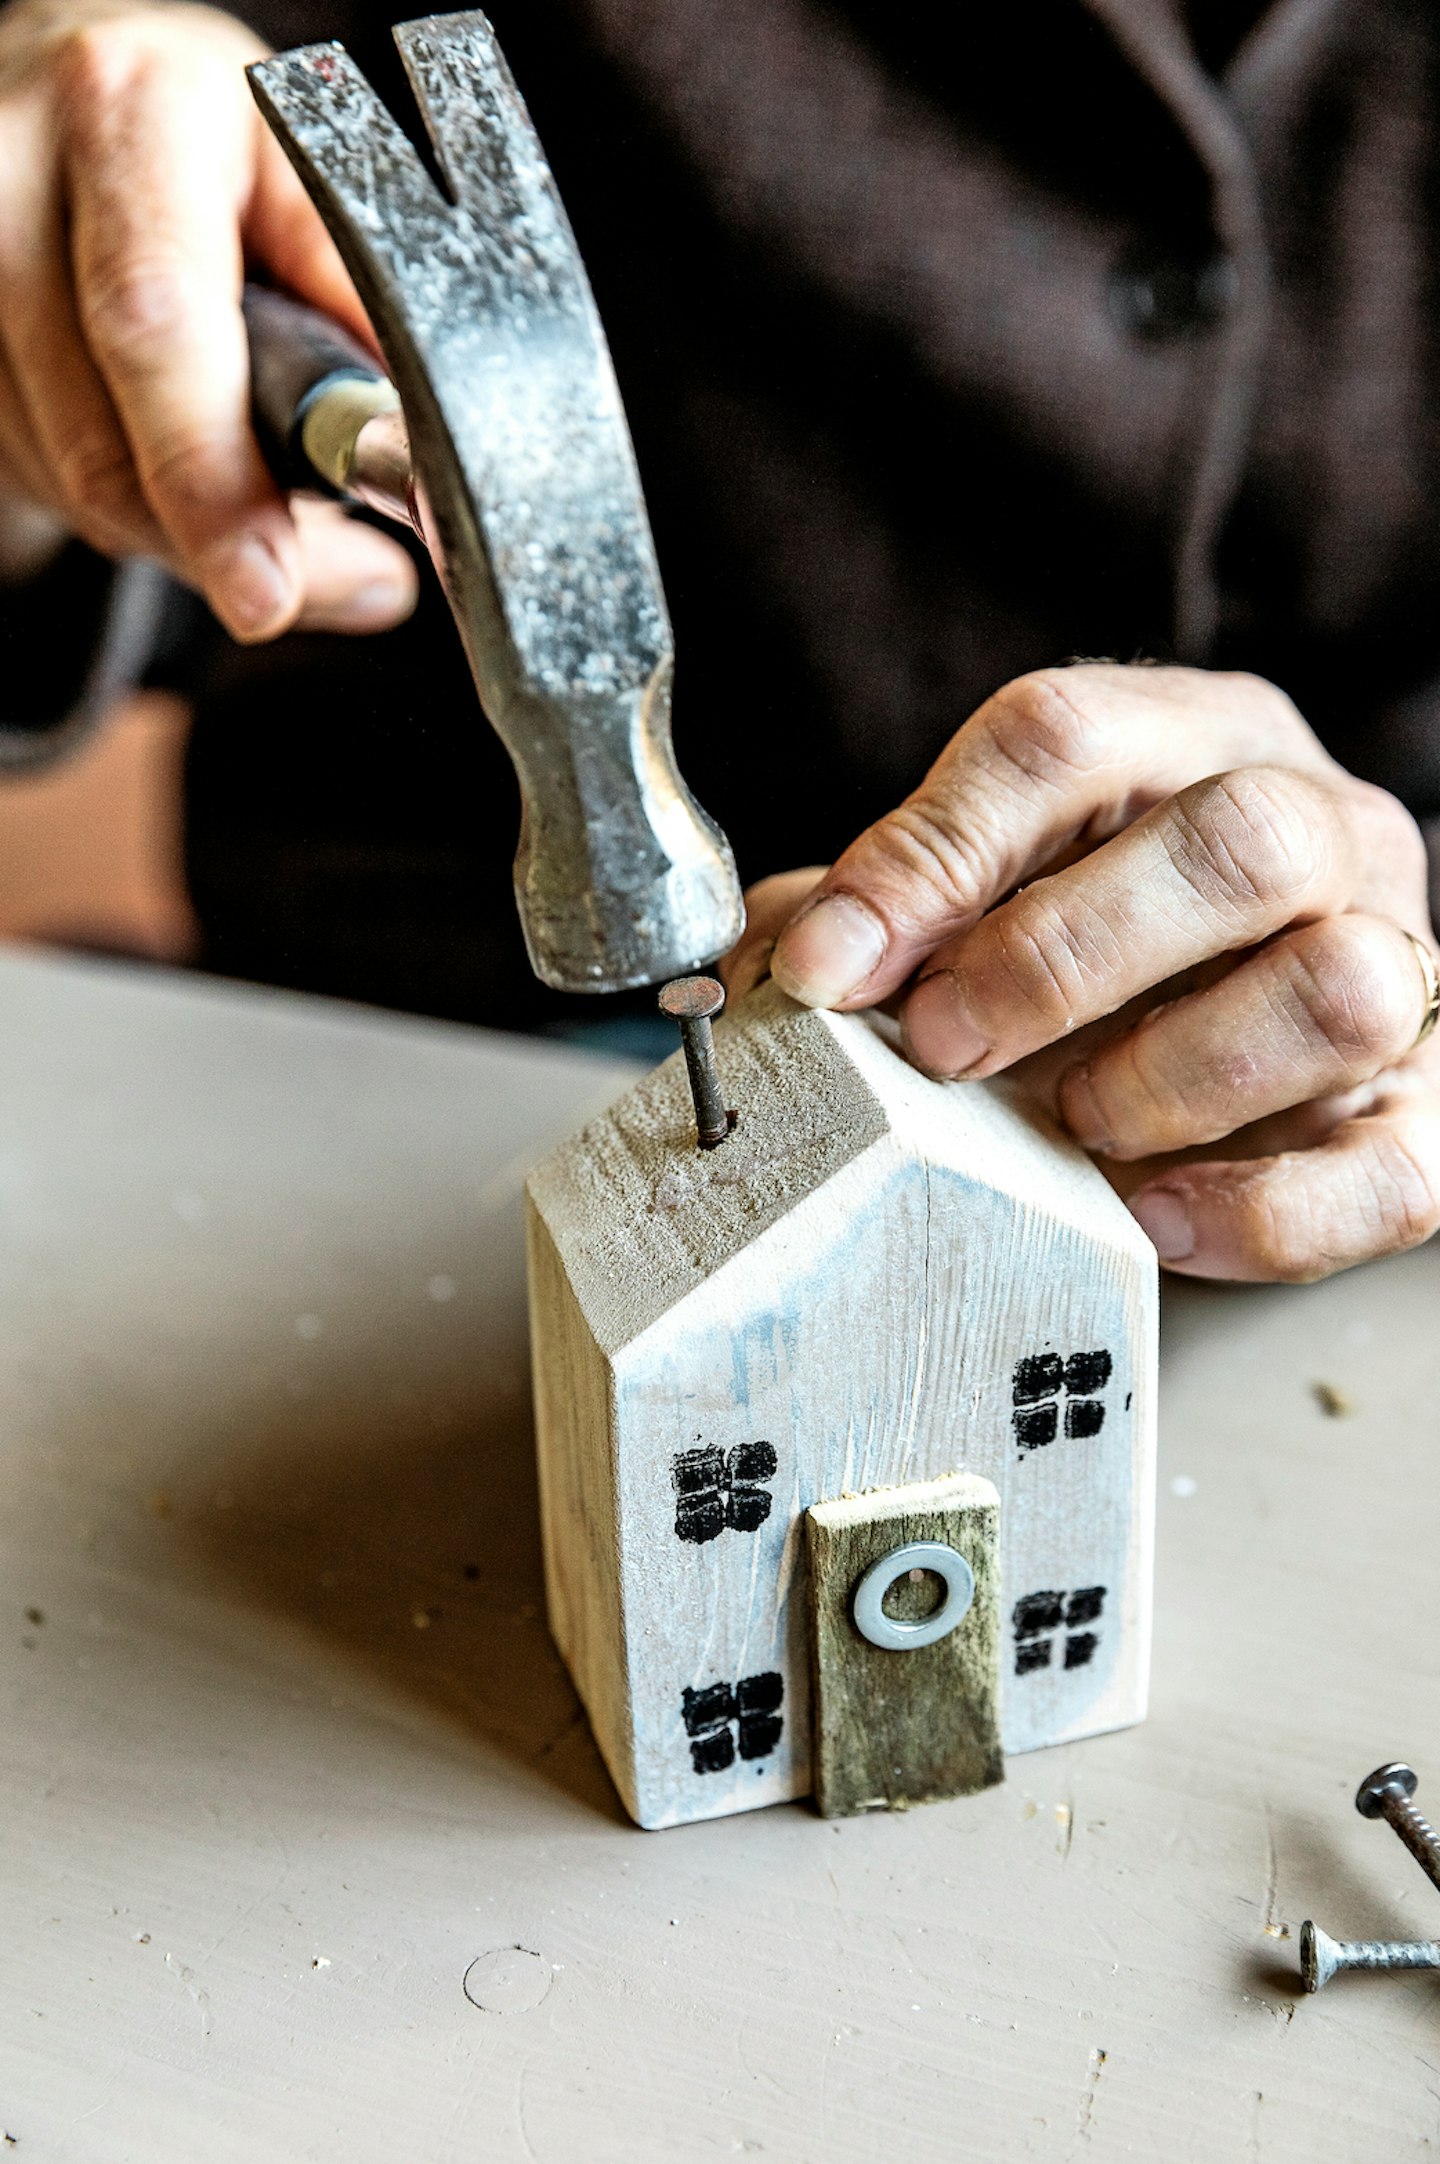
Step 4: Scraps of wood are cut to approximately 1¾in by ¾in (4.5 x 2cm) and sanded to the desired thickness and finish. Broken pieces of trellis or fencing are ideal. A dab of wood glue is used to attach the doors, and old washers, resembling Christmas wreaths, are fastened with tacks.
Next, rusty nails are carefully hammered into the roofs at different angles, to represent chimneys. A pilot hole is drilled for the larger nails to prevent the wood from splitting.

Step 5: Pine cones are dampened with watered- down wood glue, and salt is sprinkled through a tea strainer to give a frosted effect. The houses and trees are then arranged on a suitable piece of planking to complete the display.
Finished Project

Project: Sue Martin; Photography: Richard Faulks
1.
Subscribe today!
Take out a LandScape subscription

LandScape brings the fresh air of the British countryside into your home. With a mix of beautiful photography and in-depth features, it captures the very best of every season, from stunning landscapes and places to visit to the best of British traditional cookery and crafts. Choose the right Subscription offer for you… Receive 12 issues with free UK delivery to your door with a Print Subscription. Get easy access to the digital issues, Member-only rewards and more by taking out a Digital Subscription or choose a Print + Digital Subscription and get everything included.