
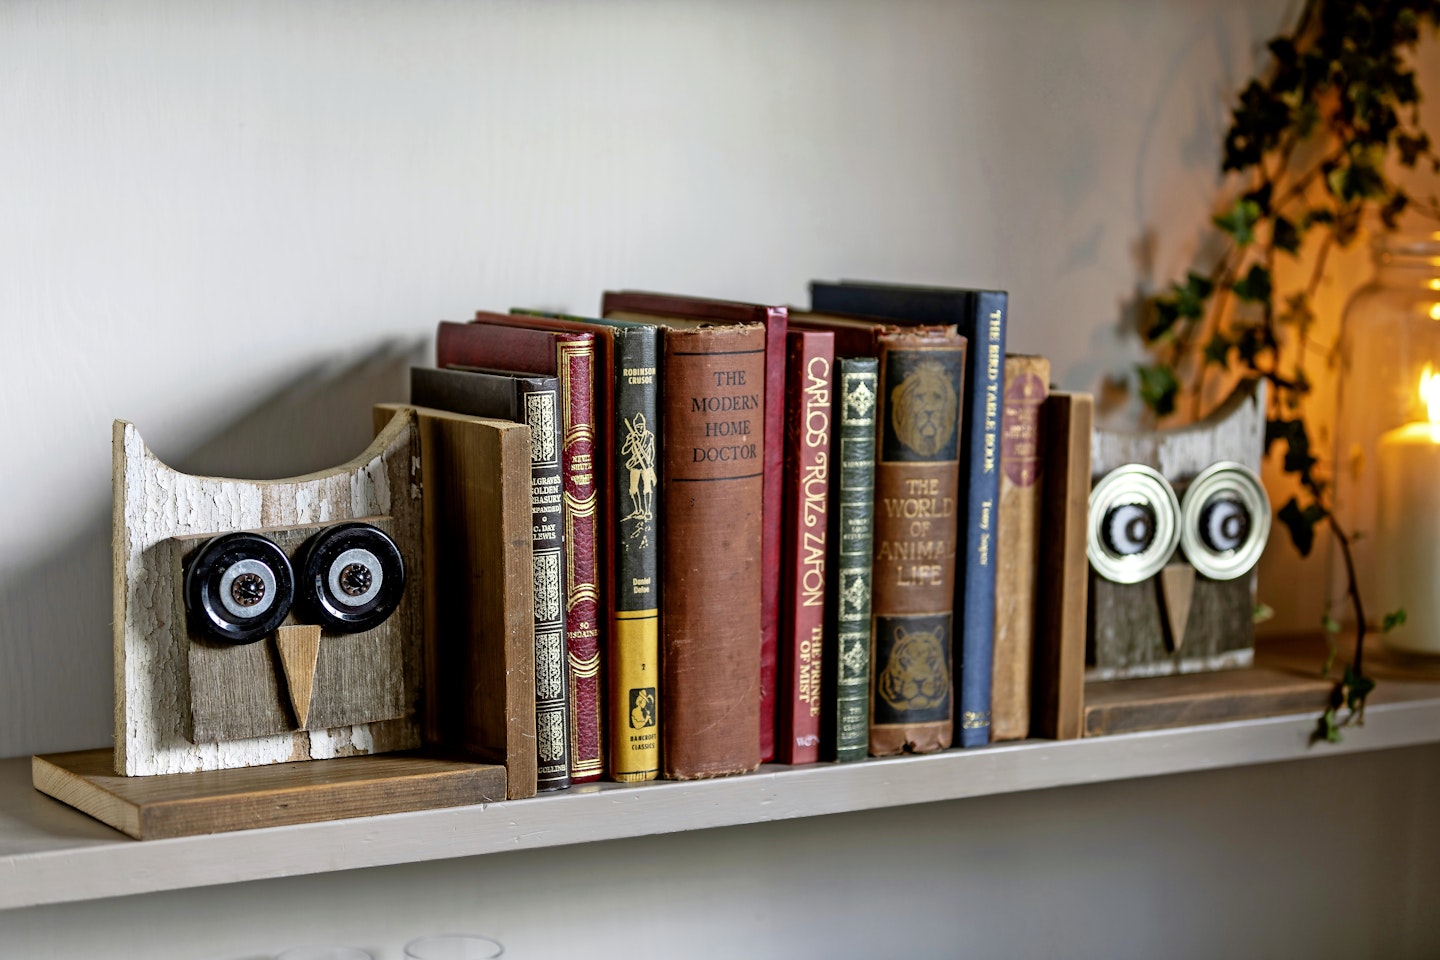
Much of the charm of these owl bookends comes from the nature of the reclaimed materials used to make them. Old pieces of shelving, off-cuts from previous projects and wood from pallets are used, with any flaking paint and weathering retained to add detail and character.
The owls’ eyes consist of jar lids and bottle tops to give the birds a wide-eyed, bookish expression, much suited to their place in the home.
They are simple to make, and the sizes given can be adjusted to suit the materials available.
Materials
Makes one pair of bookends
• Plank of wood, 2ft 6in by 51/2in by 3/4in (75 x 14 x 2cm)
• Contrasting offcuts of wood: 2 x 51/2in by 6in (14 x 15cm) and 2 x 4in by 31/2in (10 x 9cm)
• Ruler and pencil
• Saw
• Fretsaw
• Sandpaper, 100 grade
• Wire wool
• Drill bit, size 3mm
• Wood glue
• Hammer
• Screwdriver
• Screws, 11/4in
• Assorted jam jar lids, bottle tops and washers
Step-by-step guide
Wise old owls
 1 of 7
Step 1
To make the base and side support for the first bookend, two pieces of wood, each 63/4in (17cm) long, are marked out along the plank, then cut. Each piece is smoothed with wire wool and the cut ends rubbed over with sandpaper to remove any rough edges and splinters.
 2 of 7
Step 2
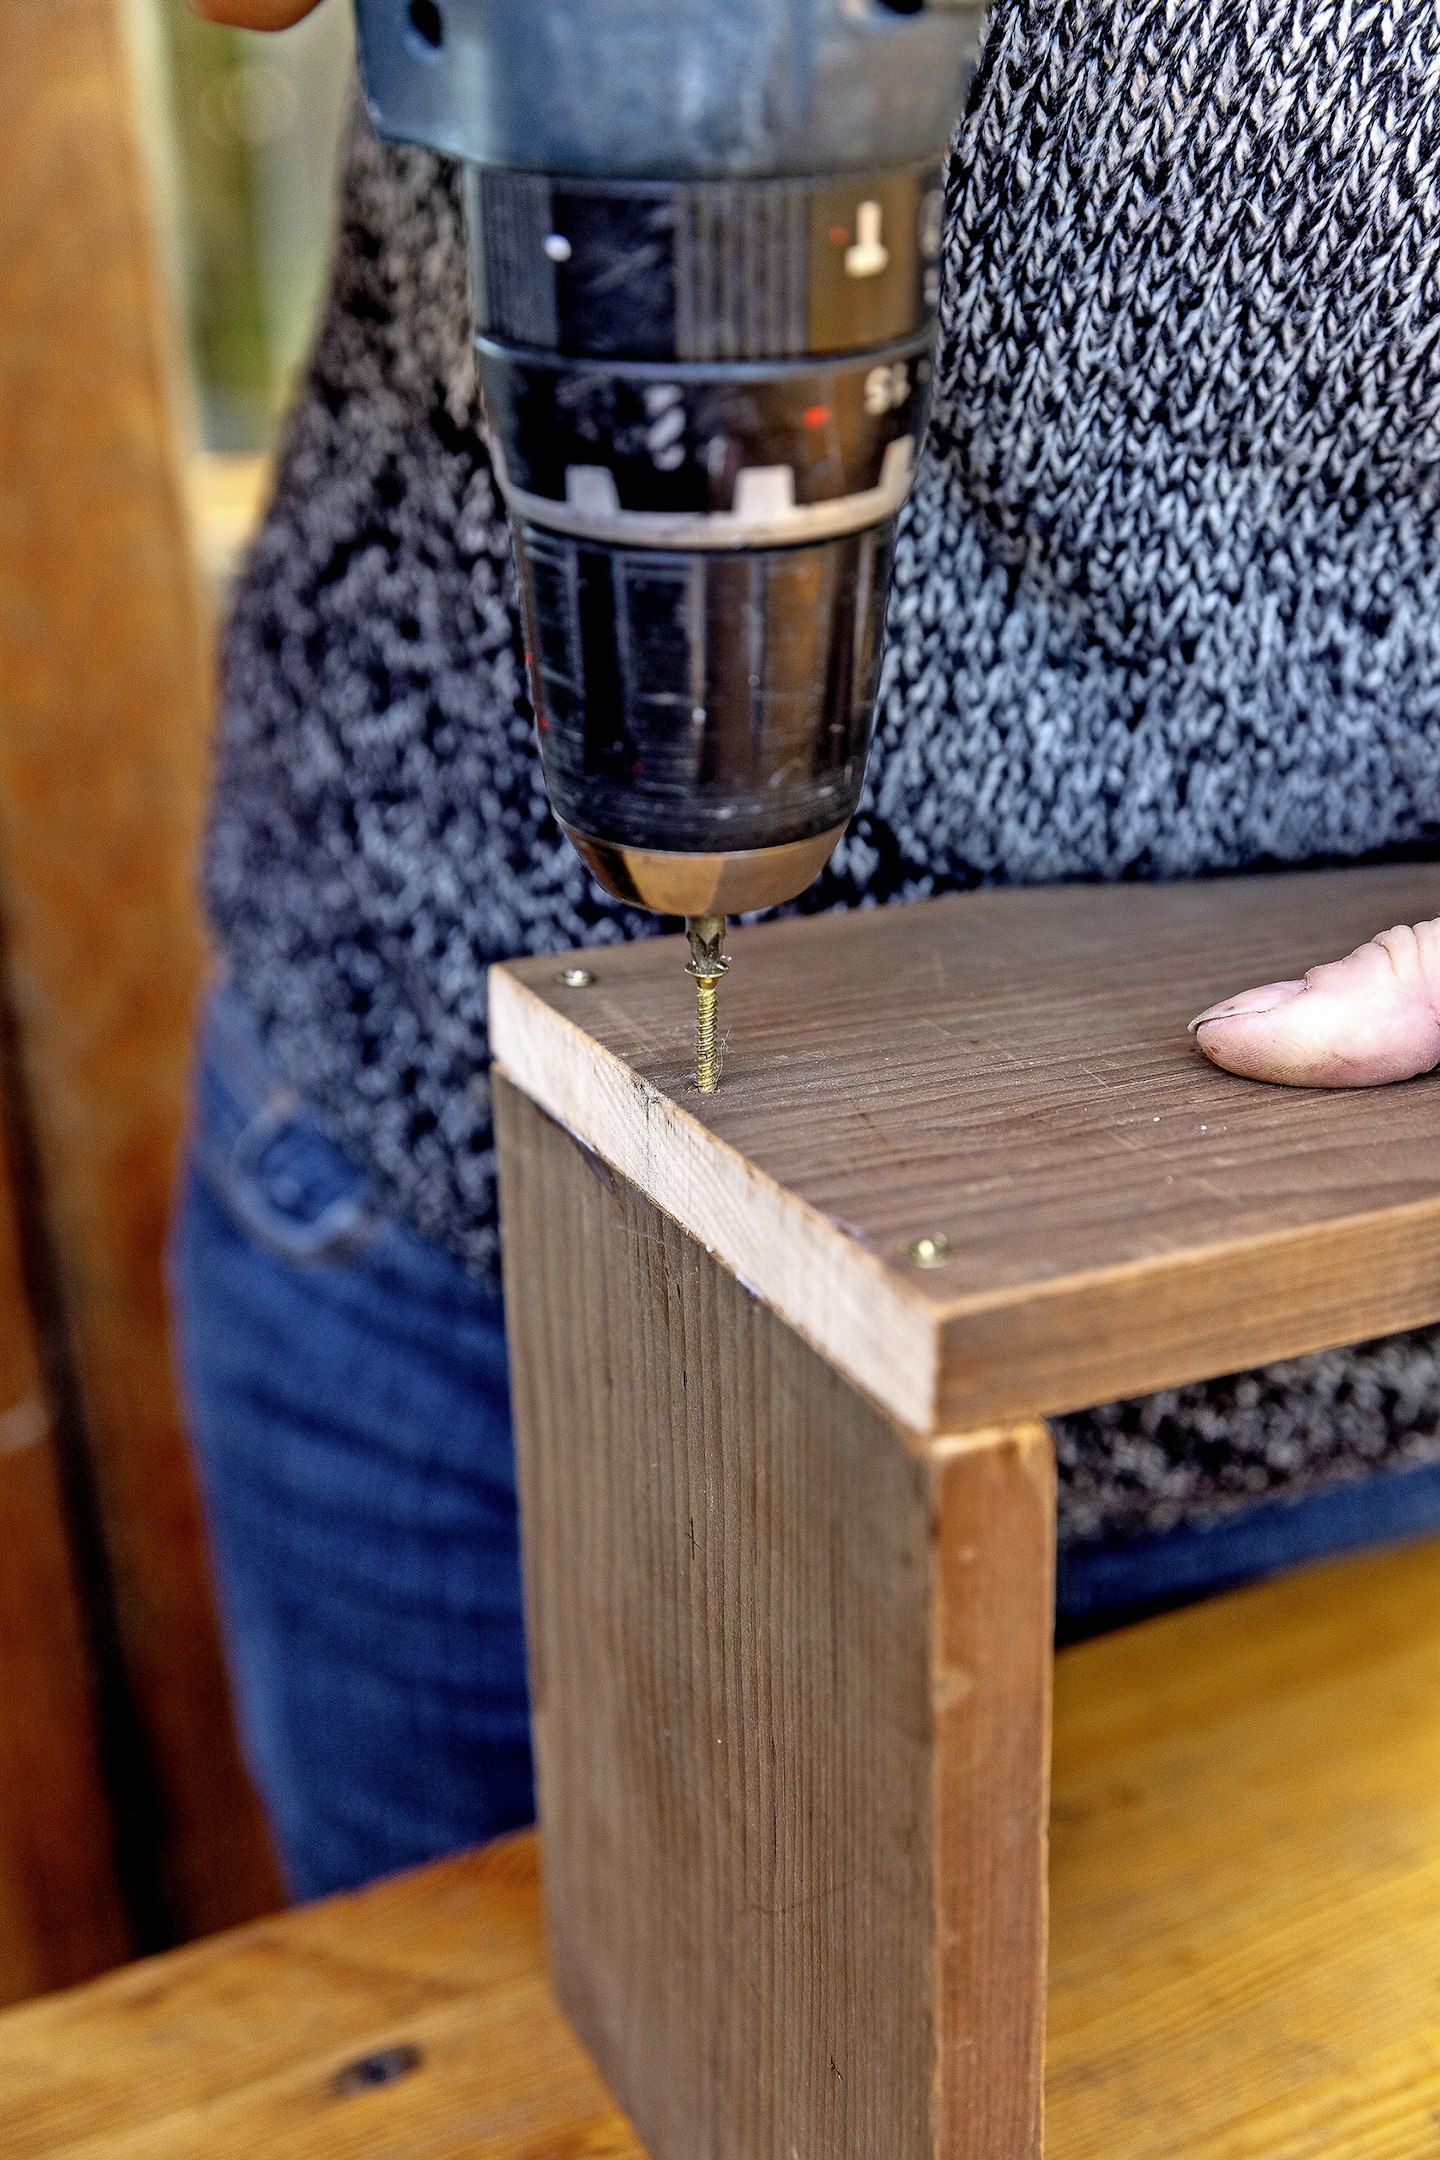
The two pieces of wood are held together at right angles to form an L-shape. Three equally spaced pilot holes are drilled down through the pieces, 3/8in (8mm) in from the base edge. Wood glue is applied to the join of the piece below, and the two pieces then screwed together.
 3 of 7
Step 3
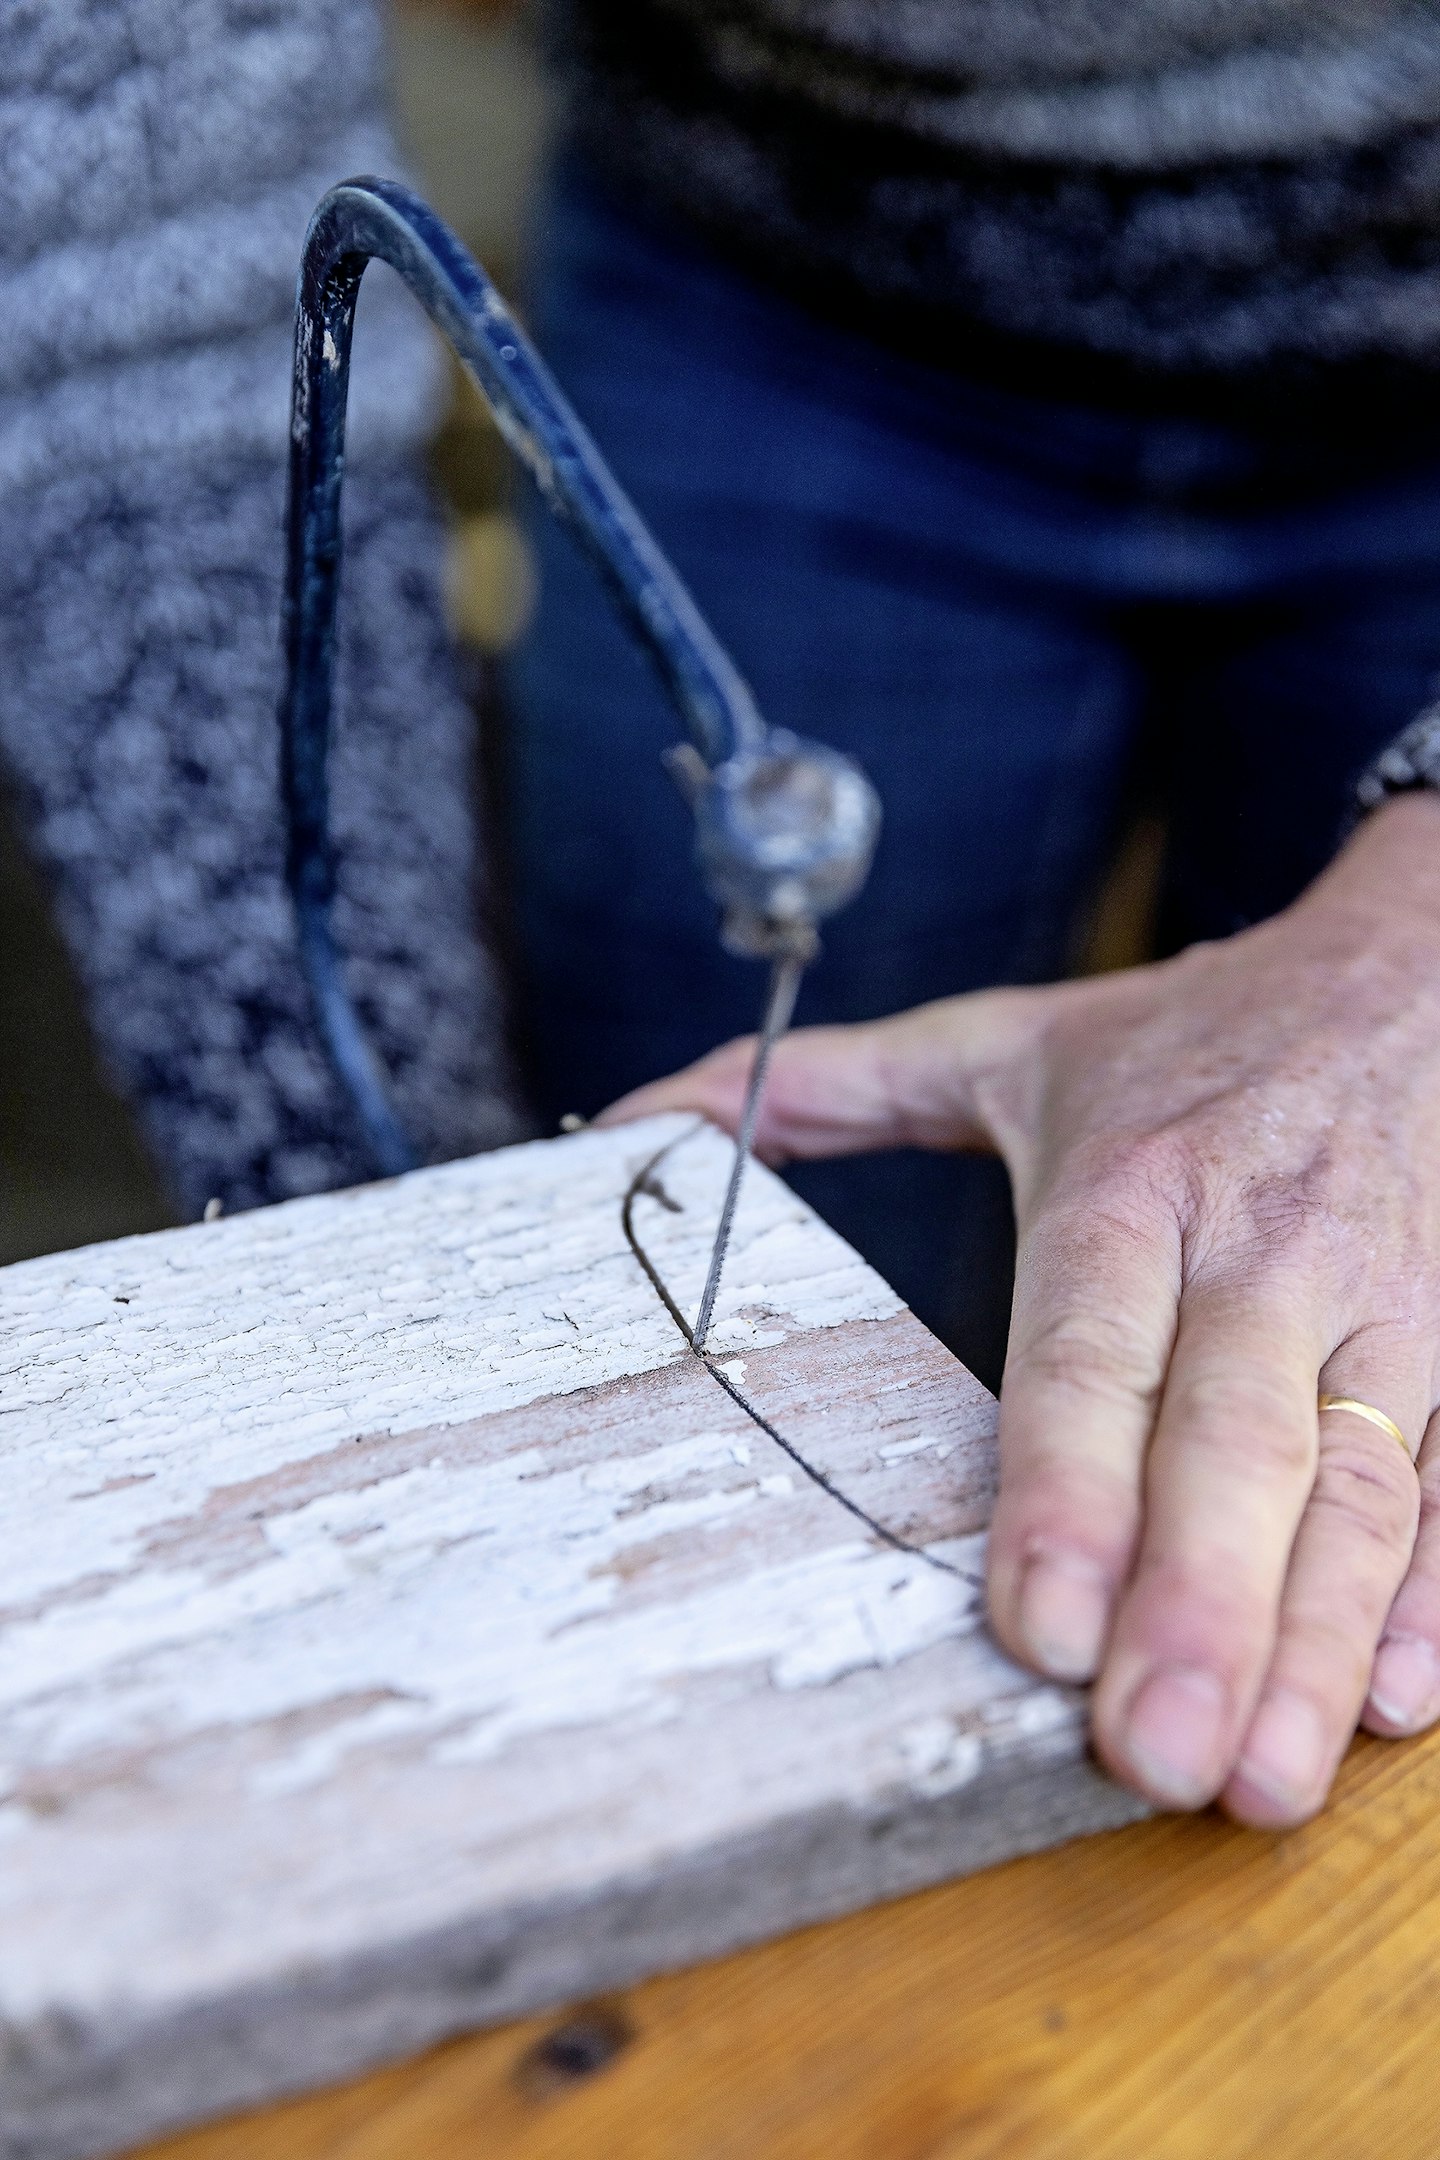
A curve is drawn at one end of a 51/2in by 6in (14 x 15cm) piece of contrasting wood, to indicate the shape of the ears and head of the owl. A fretsaw is used to cut along the curve, and any rough edges are sanded. This piece of wood can be painted if desired.
 4 of 7
Step 4
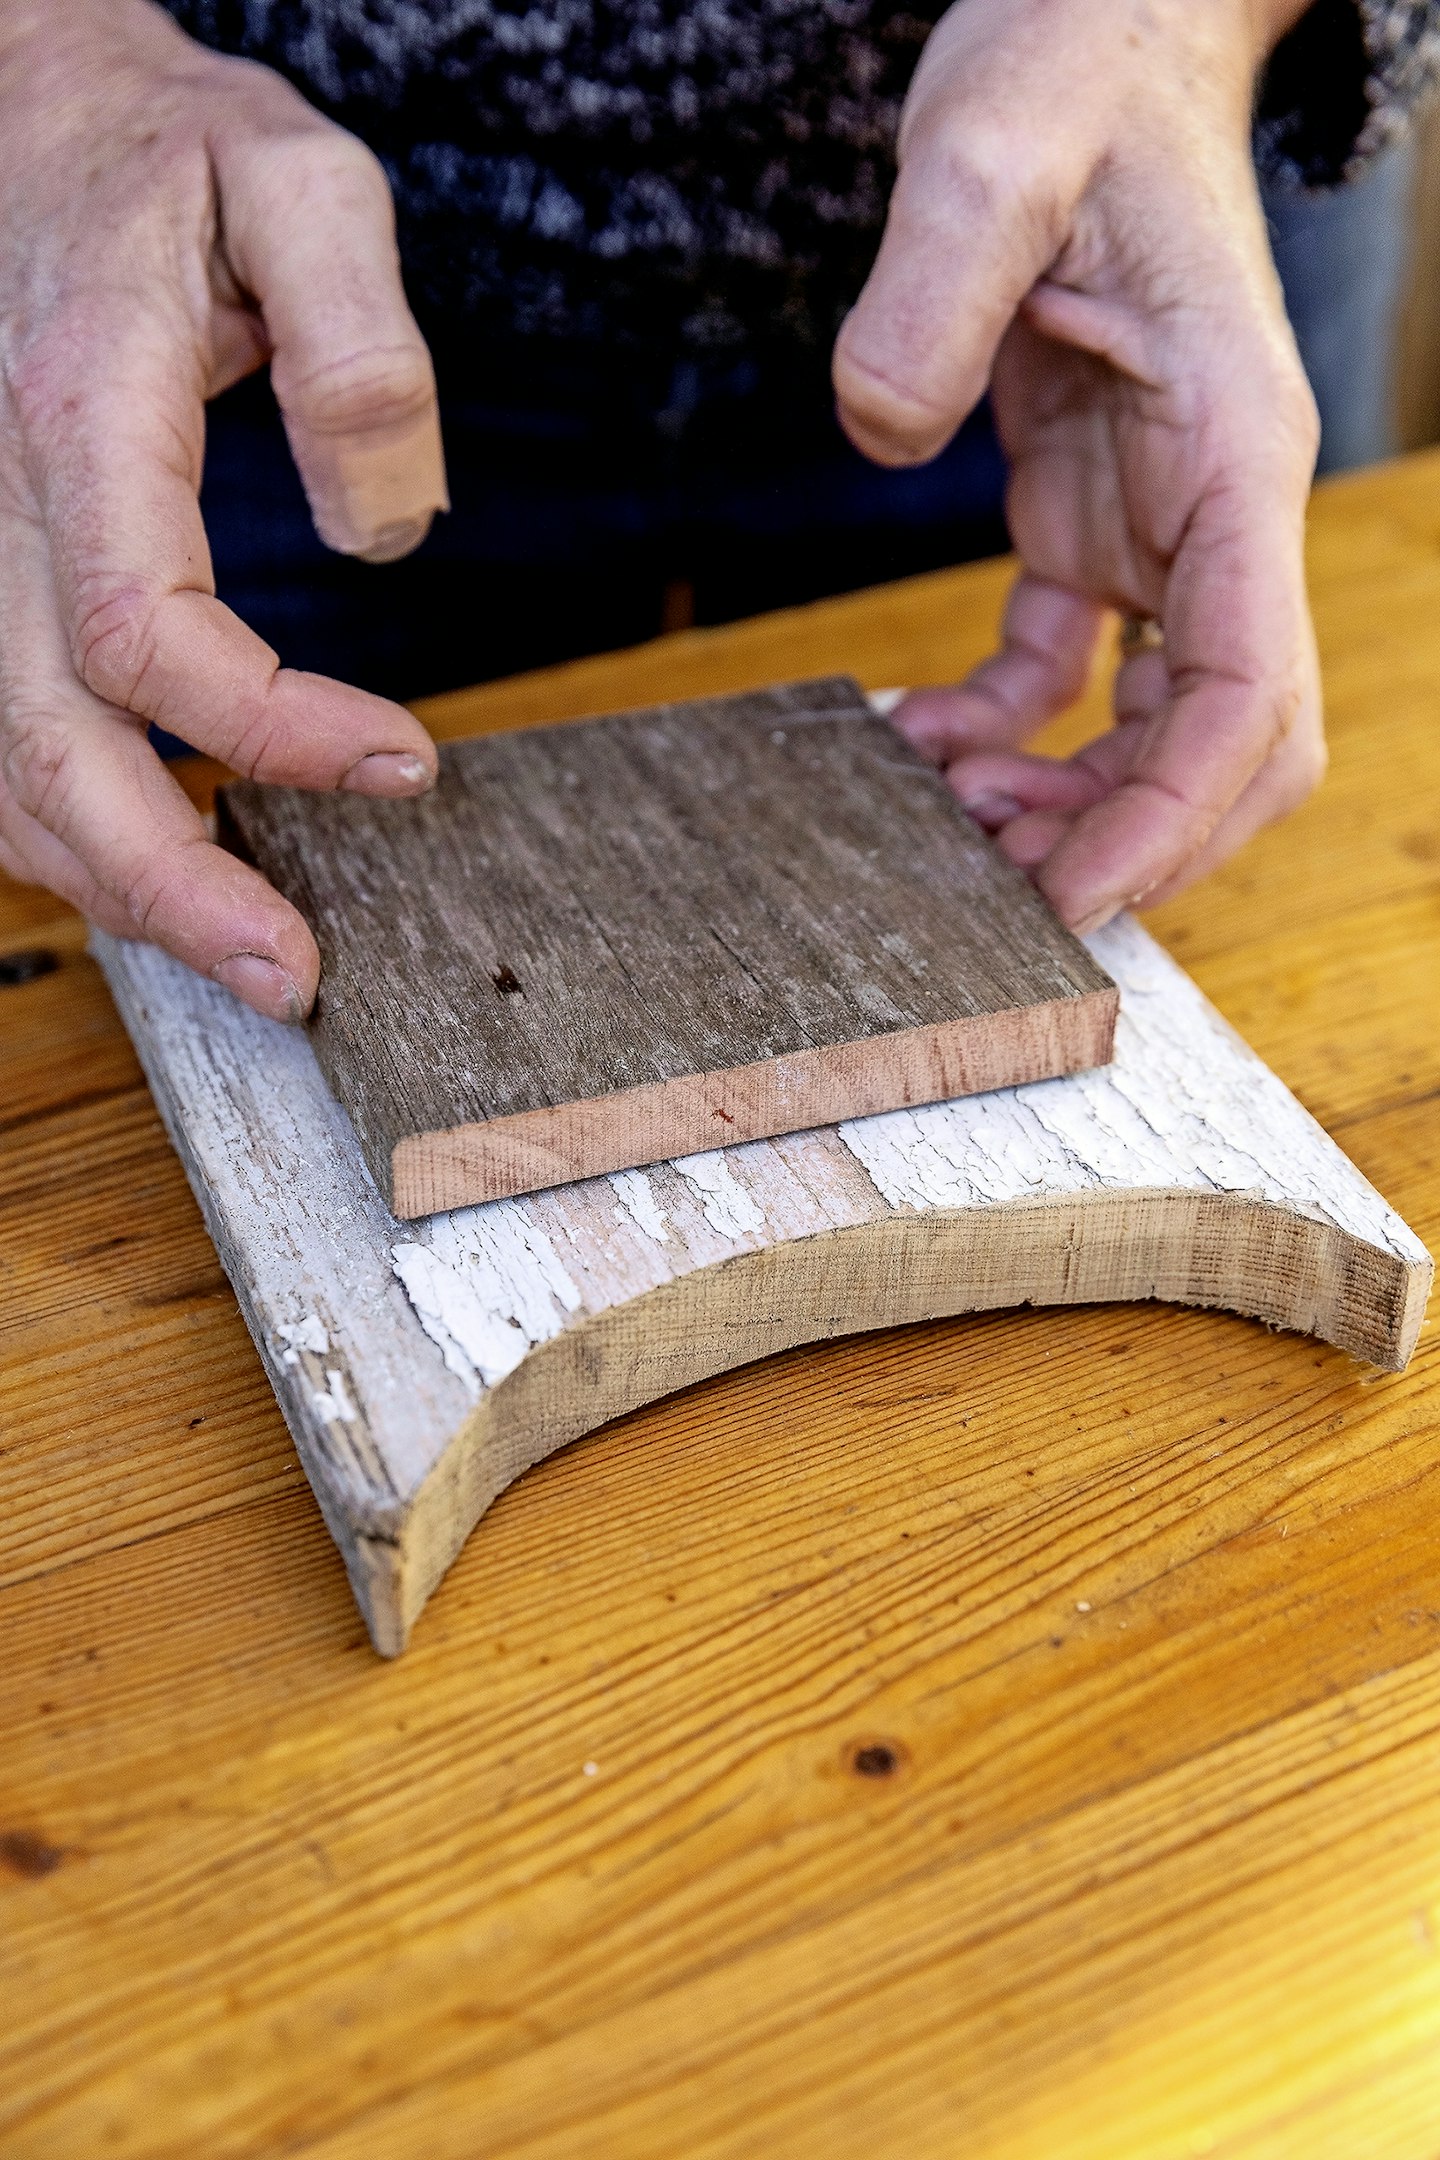
The rough edges of a 4in by 31/2in (10 x 9cm) contrasting piece of wood are sanded. This piece is then glued in place on top of the head of the owl.
 5 of 7
Step 5
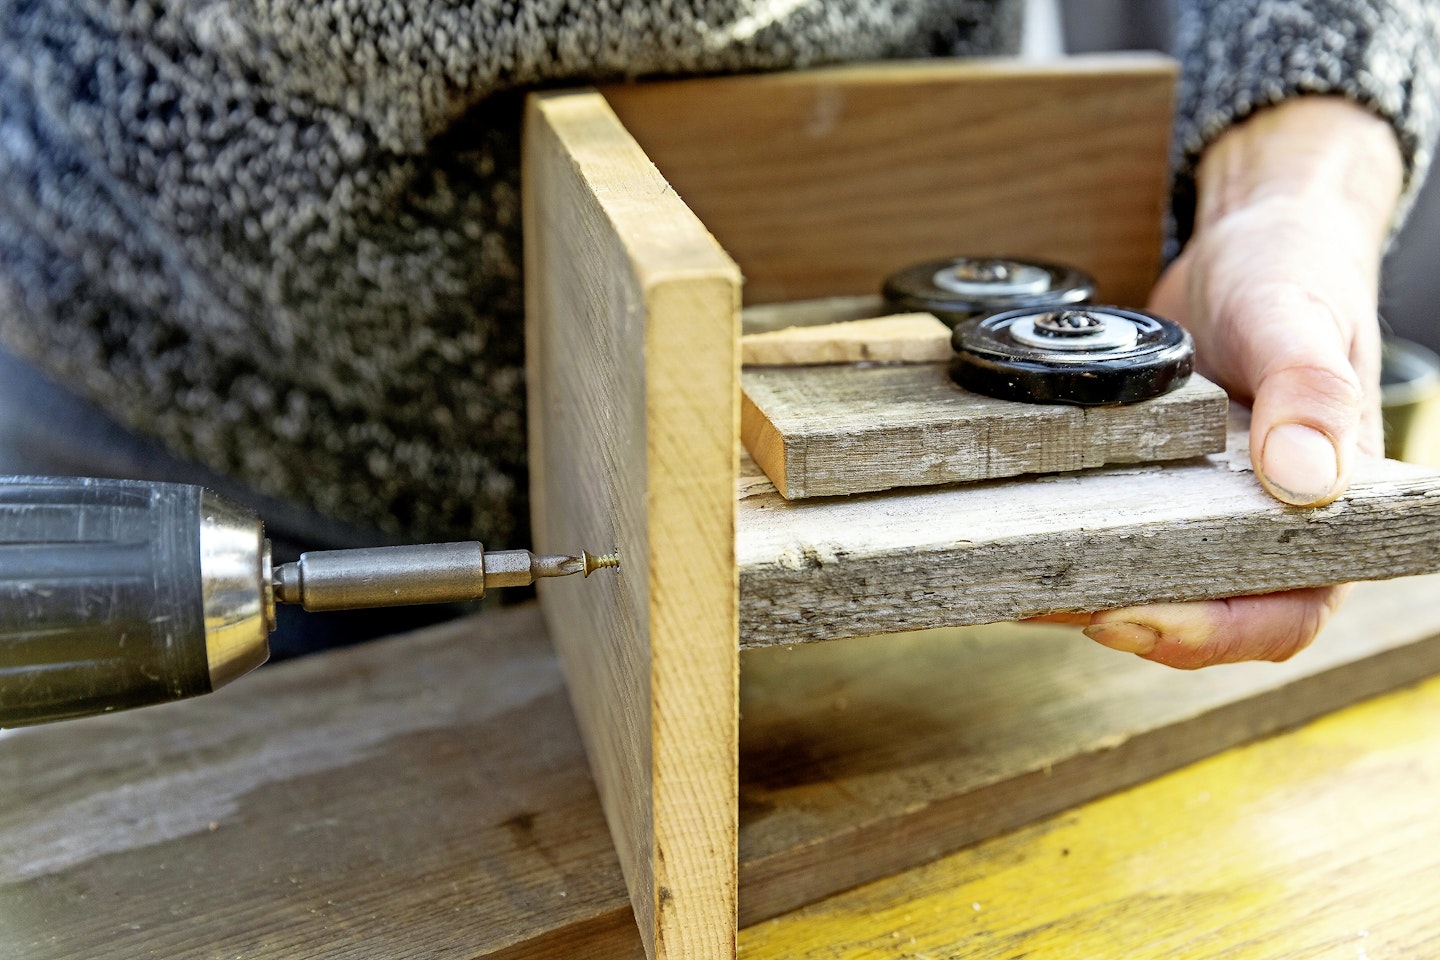
Time can be spent selecting the most pleasing arrangement of lids, bottle tops and washers for the owl's eyes. These are then screwed in place, using screws long enough to join the lids and the two pieces of wood together. A triangular piece of wood is cut from leftover plank and glued on for the owl's beak.
 6 of 7
Step 6
Holding the owl in the centre of the L-shaped base, it is screwed in place from underneath. Drilling guide holes first helps the screws go in much more easily. To make the second owl, the above steps are repeated, but the base reversed to allow the owl to sit to the left of the shelf.
 7 of 7
Finished Project
Character can be added by placing the central washers of one or both of the owls' eyes off-centre. For a pair of bookends, one of the L-shaped bases needs to be reversed to allow for one left- and one right-sitting owl.
Finished project
Project: Sue Martin; Photography: Richard Faulks
1.
Subscribe today!
Take out a LandScape subscription
LandScape brings the fresh air of the British countryside into your home. With a mix of beautiful photography and in-depth features, it captures the very best of every season, from stunning landscapes and places to visit to the best of British traditional cookery and crafts. Choose the right Subscription offer for you… Receive 12 issues with free UK delivery to your door with a Print Subscription. Get easy access to the digital issues, Member-only rewards and more by taking out a Digital Subscription or choose a Print + Digital Subscription and get everything included.